Hey guys! I'm Autie {short for Autumn} and I am sooo honored to be the first guest blogger on
Today, I'll teach you how to make the most fabulous bib in the history of bibs. no, really. Unfortunately, when you look at it, you aren't going to think it's very cute. There's no sparkles or ruffles or anything fancy going on this bib, but just let me tell you that there is no bib better for messy watermelon, or sticky ice cream. or anything else in the book. My almost 4-year old actually asks to wear it. I'm happy to take shirts off, and let my kids eat topless, but sometimes, it's sooo much easier to just slip this little beauty on, and call it a day. It's super absorbant (nothing gets through) and has complete coverage. Alright, done with my twisting-your-arm-that-this-is-awesome-even-though-you-won't-think-it-is-until-you've-tried-it-infomercial, and on to the project.
Exhibit A:

are you cringing because it's totally not cute {even though that little guy is awfully handsome in it?}
Exhibit B:

she's yummy, too, but still not convinced?
Exhibit C:

You slip it over their clothes, and velcro it in the back, and voila!
OK, just grab a couple things and stinkin' make it, and then you'll believe me.
All you need is:
-1 bathroom hand towel (i tried a kitchen towel, and it worked, but it wasn't as absorbant, and I eventually tossed it...the bath hand towels are sooo much better!)
-1 pkg of Bias Tape (extra wide, double fold) in coordinating color
-1 piece of sew-on velcro
-thread, scissors, sewing machine, etc...
oh...and this
template. (before you print the template, make sure that you zoom into to 100% to make sure the sizing is right!) You can also wing it, the whole should be about 6 inches in diameter.
here's what the bias tape package looks like...you can get it at Joanns for well under $3

Start by folding your towel the "hamburger way". Don't fold it all the way in half, but leave 4 inches or so hanging out at the bottom as in the picture.

Find the middle of the towel by folding it in half, and pin the template in place on the fold in the middle of the towel.


Cut along the line through both thicknesses of towel.

Open it up, and then fold the towel in half the "hot dog" way. This is what it should look like:

There should be a longer side and a shorter side. Cut along the fold down the shorter side like this. Totally precise, I know, you can break out your rotary cutter if you want, but I didn't feel like I had to.

When you open it up, this is what you should get:

Open up your package of bias tape and cut a piece that is about 19+ inches long. (if you didn't use my template, you are going to have to measure the neck hole!)

When you open the bias tape up, it should look like this:

We are going to start with the neck. Line one of the edges up with the raw edge at the beginning of the neck hole and pin it in place. Leave a little bit of the bias tape hanging off the side. This is what it should look like:

Continue pinning all the way around the circle, lining up the unfolded side of the bias tape with the raw edge of the circle you cut out of the middle of the towel. If you pin frequently, it'll be easier to sew around the circle.

Do you see that first line (fold) after the edge of the bias tape? Line your needle up on it, and sew exactly on that line all the way around. ps, did you know you don't have to take the pins out as you sew? Your machine will cruise right over them, so if you're a beginner, don't stop to worry about taking out the pins...just worry about stitching.

When you're done, take out the pins and begin to fold the bias tape back to it's original form (the way it came when you took it out of the package...) So, fold both outside edges into the middle,

like so:

and then fold both sides in half, over the towel so it looks like this:

Pin it in place just like that...This is what you get.

Sew as close to the edge as you can.

Here's your pretty collar!

You are going to do the same thing on each straight-edge side, only it's way easier, and way fast because it's not curved. So, same steps, cut the bias tape to be a little longer than the length of the side of your towel. Open it up, pin the edge of the bias tape to the edge of the towel, and stitch in the ditch.

Before you flip the towel over to sew the other side of the bias tape down, fold the cut edge of the bias tape down to sort of finish it off on both the top and bottom ends...sorry, this picture is so blurry, but this is all I got... (fold the edge in before pinning the tape down)

This is what it should look like before you sew it:

Here's another view. I hope that makes sense!

This is what it should look like when the side is sewn down:

Do that twice, and this is what you have:

Next, turn the towel inside-out and line the towel up how you originally folded it, so that the bias tape edges meet, as shown above. Then measure about 5 inches from the fold down.

Pin the two edges together.

Sew from the pin down to the end of the short side of the towel, making sure to backstitch at both the pin and end of the towel. Do this on both sides. This creates the arm holes and the sides of the bib.

Flip it back right-side out and woo hoo, arm hole! All you have left to do is the velcro!

Pin the pieces of velcro in place ( I try to make sure that the scratchy side is pointing away from the skin, but it really probably doesn't matter.)

Sew around the perimeter...and maybe criss-cross it for extra stability:

and taaa-daaaah, the most fabulous bib ever invented!

Now go buy some juicy watermelon, and test it out! I'm telling you, you're going to love it!


And just in case you're still not a believer, here's a giveaway for you!
I'll send this fancy zebra bib to one of Kristyn's followers, here's what you have to do to enter:
*Become a follower of Kristyn's blog. Already are one? tell me in a comment {1 entry}
*Become a follower of my blog. Already are? Remind me! {1 entry}
That's it! Someone's going to be lucky! Giveaway ends Friday, June 4th at NOON-ish :) I'll put it in the mail that day! Good luck!
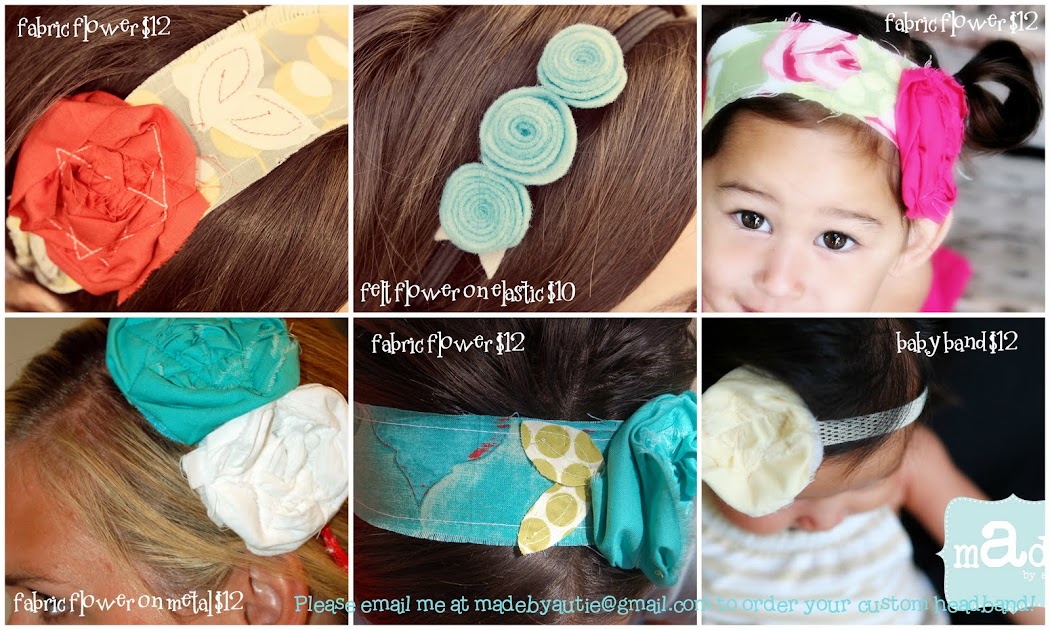
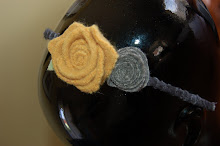
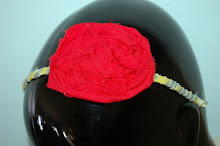
ps...just a little plug for my headbands; I love to do custom orders! If you like the style, but want to request certain colors, etc, I'm sooo happy to do it! you can email me at madebyautie@gmail.com if you're interested!